
Related Manuals for Pyle view PLVHR72


Summary of Contents for Pyle view PLVHR72
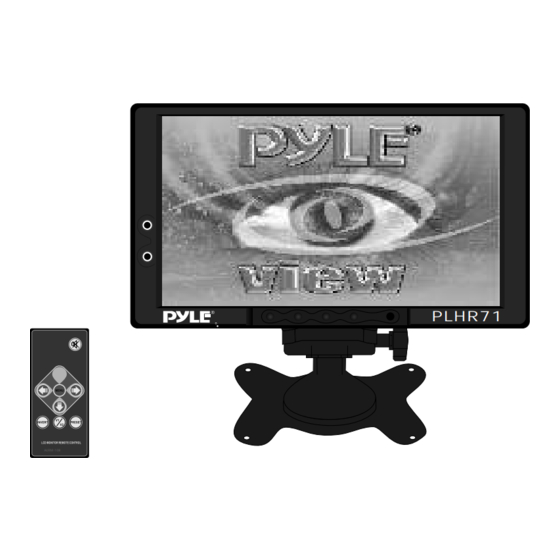
- Page 1 7" Wide LCD Monitor With 4 Mounting Options PLHR71 AU RM -1 0B PLVHR72 INSTRUCTION MANUAL www.pyleaudio.com...
-
Page 2: Table Of Contents
Table of Contents About the liquid crystal display (LCD) panel Troubleshooting guide Precautions Control & Layout for monitor / wireless remote Accessories Connection diagram Replacing the remote control battery Installing headrest with shroud Installing sun-visor with shroud installing of headrest case Function setting Specifications 9-10... -
Page 3: About The Liquid Crystal Display (Lcd) Panel
About the liquid crystal display (LCD) panel 1. Do not press on the LCD panel on the monitor unit as doing so can distort the picture or cause a malfunction, the picture may become unclear, or the LCD panel may be damaged. 2. -
Page 4: Precautions
Precautions Please read this manual completely and carefully prior to attempt to install your new car video equipment. Install correctly, your new equipment will provide you with years of enjoyable and safe usage. Installing this unit requires technical expertise. This unit should be installed by a qualified technician or service personnel. -
Page 5: Control & Layout For Monitor / Wireless Remote
Control and layout for the monitor Front Audio Output Front audio output (headphones) Front A/V Input Front audio video input Power Cord (Male) Adjust Decrease This multipurpose button serves to decrease the selected parameters, such as volume, contrast etc. Notice: some functions are work by remote control. Control and layout for the remote control Power On/Off Turn On / Off the monitor... -
Page 6: Accessories
Key-for removing the monitor Extension Min Din Cable from headrest or visor shroud 7" Wide LCD Monitor With 3 Mounting Options PLHR71 AURM-10B PLVHR72 IN ST RU CT IO N MA NUAL www. pyl eau dio .co m Instruction Manual... -
Page 7: Connection Diagram
Connection Diagram White RCA: Mono Audio Input Yellow RCA:Video Input Red wire :DC +12Volts Power Input ( Black wire: Ground Replacing the Remote Control Batter y 1)Always use new battery when replace the old set. 2)Do not attempt to charge, short-circuit, disassemble, heat or burn used batteries, battery may be explode if mistreated. -
Page 8: Installing Headrest With Shroud
Steps For Installing Headrest with Shroud Setup work Remove the headrest and set it in an uncluttered work area. Pay the appropriate precautions to ensure that it is not damaged during the installation. CAUTION: make sure the screws are not long enough to go through the headrest! If you have any doubts about this type of installation, please consult your local mobile electronics retailer. - Page 9 Route the cable through the headrest Run the supplied cable through the opening and out to the bottom of the headrest. If possible, conceal the wires with a shaft covering. Connect the power, ground and video leads to test the MONITOR. Before connecting the monitor, pull the connecting cable through the headrest shroud as shown in diagram.
-
Page 10: Installing Sun-Visor With Shroud
Steps For Installing Sun-visor with Shroud Setup work Remove the visor and set it in an uncluttered work area. Pay appropriate precautions to ensure that it is not damaged during the installation. CAUTION: make sure the screws are not long enough to go through the visor! If you have any doubts about this type of installation, please consult your local mobile electronics retailer. - Page 11 THIS SIDE UP THIS SIDE UP THIS SIDE UP THIS SIDE UP Oper ate your syst em in a saf e and legal manner When oper ate a motor vehi cle, it shoul d always be your highest priority to maintain saf e driving habi ts.
-
Page 12: Installing Of Headrest Case
Rear side of headrest Front side of headrest... -
Page 13: Function Setting
Function setting Press MENU button (1)from the remote or press manual button (1) from the monitor to call out the function menu, press button (2 or 3) to the desired setting. Video Signal Picture Parameters Return ENT. SEL. Video Signal Picture Parameters Return SEL. - Page 14 Video Signal Picture Parameters Contrast Brightness Saturation Gamma Function Scaling Return ADJ. SEL. Video Signal Picture Parameters Contrast SAVE / EXIT - / + MU EXIT Video Signal Picture Parameters Contrast Brightness Saturation Gamma Function Scaling Return ADJ. SEL. OSD Setup Others Press the button( 2or3) to adjust the to choose “contrast.
- Page 15 Video Signal Picture Parameters Brightness SAVE / EXIT - / + MU EXIT Video Signal Picture Parameters Contrast Brightness Saturation Gamma Function Scaling Return ADJ. SEL. Video Signal Picture Parameters SAVE / EXIT - / + MU EXIT OSD Setup Others Press button 2: adjust brightness to lighter level.
- Page 16 Video Signal Picture Parameters Scaling Full Screen Letter Box Paranoma Return SET. SEL. Video Signal Picture Parameters Scaling Full Screen Letter Box Paranoma Return SET. SEL. Video Signal Picture Parameters Enable Disable Return ADJ. SEL. OSD Setup Others Press the button( 2or3) to adjust the to choose “letter box”.
- Page 17 Video Signal Picture Parameters Contrast Brightness Saturation Gamma Function Scaling Return ADJ. SEL. Video Signal Picture Parameters Saturation SAVE / EXIT - / + MU EXIT Video Signal Picture Parameters Contrast Brightness Saturation Gamma Function Scaling Return ADJ. SEL. OSD Setup Others Press the button( 2or3) to adjust the to choose “saturation”.
- Page 18 Video Signal Picture Parameters Gamma Function SAVE / EXIT - / + MU EXIT Video Signal Picture Parameters Contrast Brightness Saturation Gamma Function Scaling Return ADJ. SEL. Video Signal Picture Parameters Scaling Full Screen Letter Box Paranoma Return SET. SEL. OSD Setup Others Press button 2: appear 0 standard (preset).
- Page 19 Video Signal Picture Parameters Enable Disable Return ADJ. SEL. Video Signal Picture Parameters Enable Disable Return ADJ. SEL. Video Signal Picture Parameters Language Select OSD Timeout Transparency Information Memory Recall Return ADJ. SEL. OSD Setup Others Press the button( 2or3) to adjust the to choose enable.
- Page 20 Video Signal Picture Parameters Language Select OSD Timeout Transparency Information Memory Recall Return ADJ. SEL. Video Signal Picture Parameters Language Select English Exit SET. SEL. Video Signal Picture Parameters Language Select OSD Timeout Transparency Information Memory Recall Return ADJ. SEL. OSD Setup Others OSD OSD...
- Page 21 Video Signal Picture Parameters OSD Timeout SAVE / EXIT - / + MU EXIT Video Signal Picture Parameters Language Select OSD Timeout Transparency Information Memory Recall Return ADJ. SEL. Video Signal Picture Parameters Transparency SAVE / EXIT - / + MU EXIT OSD Setup Others...
- Page 22 Video Signal Picture Parameters Language Select OSD Timeout Transparency Information Memory Recall Return ADJ. SEL. Video Signal Picture Parameters Information Source: Av1 Format: NTSC HS: 15.7 Khz VS: 59.8Hz SET. SEL. Video Signal Picture Parameters Language Select OSD Timeout Transparency Information Memory Recall Return...
- Page 23 Video Signal Picture Parameters Exit VCOM Adjust Display Model: Rotate ADJ. SEL. Video Signal Picture Parameters Exit VCOM Adjust Display Model: Rotate ADJ. SEL. OSD Setup Others OSD OSD Move the menu button (1) to exit. [Fully exit the setting] EXIT OSD Setup Others...
-
Page 24: Specifications
Specifications: LCD Drive Method: a-SI Visible Screen Size: 7 Inch Wide Screen (Diagonal) Aspect Ratio: 16:9 Display Format: 480 x RGB x 234 Number of Pixels: 336,960 Response Time: 15ms Backlight : High Brightness CCFT Luminance: 350 cd/m 2 #3 Backlight Life: 10,000 Hrs Contrast Ratio: 300:1 Viewing Angle: (H/V): 120 / 100...