Table of Contents
Advertisement
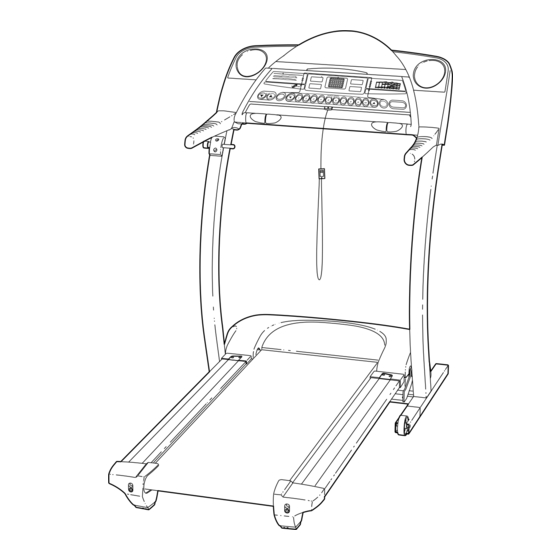
Model No. 831.291670
Serial No.
Serial
Number
Decal
SEARS, ROEBUCK AND CO.
HOFFMAN ESTATES, IL 60179
CAUTION
Read all precautions and instruc-
tions in this manual before using
this equipment. Save this manual
for future reference.
USER'S MANUAL
Visit our website at
www.proform.com
new products, prizes,
fitness tips, and much more!
Patent Pending
Advertisement
Table of Contents

Related Manuals for ProForm 760 EKG


Summary of Contents for ProForm 760 EKG
- Page 1 HOFFMAN ESTATES, IL 60179 CAUTION Read all precautions and instruc- tions in this manual before using this equipment. Save this manual for future reference. USER'S MANUAL Patent Pending Visit our website at www.proform.com new products, prizes, fitness tips, and much more!
-
Page 2: Table Of Contents
HOW TO FOLD AND MOVE THE TREADMILL ........ -
Page 3: Important Precautions
2. Use the treadmill only as described. 3. Place the treadmill on a level surface, with at least eight feet of clearance behind it. Do not place the treadmill on any surface that blocks air openings. - Page 4 SAVE THESE INSTRUCTIONS The decals shown have been placed on your treadmill. If a decal is missing, or if it is not legible, please call our toll-free HELPLINE to order a free replacement decal (see the front cover of this manual).
-
Page 5: Before You Begin
And when you’re not exercising, the unique 760 EKG can be folded up, requiring less than half the floor space of other treadmills. -
Page 6: Assembly
This is a normal condition and does not affect treadmill performance. If there is lubricant on top of the walking belt, simply wipe off the lubricant with a soft cloth and a mild, non-abrasive cleaner. - Page 7 5. Make sure that all parts are tightened before you use the treadmill. Keep the included allen wrench in a secure place; the allen wrench is used to adjust the walking belt (see page 24). To protect the floor or carpet from damage, place a mat under the treadmill.
-
Page 8: Operation And Adjustment
OPERATION AND ADJUSTMENT THE PERFORMANT LUBE WALKING BELT Your treadmill features a walking belt coated with PERFORMANT LUBE , a high-performance lubricant. IMPORTANT: Never apply silicone spray or other substances to the walking belt or the walking plat- form. Such substances will deteriorate the walking belt and cause excessive wear. - Page 9 Four certified personal trainer programs are also offered. Each program automatically controls the speed and incline of the treadmill to give you an effec- tive workout. Two heart rate programs are also fea- tured. Each program controls the speed and incline of the treadmill to keep your heart rate near a target level during your workouts.
- Page 10 Move the on/off switch to the on posi- tion. Stand on the foot rails of the treadmill. Find the clip attached to the key (see the drawing on page 9) and slide the clip onto the waistband of your clothes.
- Page 11 The display will change from one number to the other every few seconds, as shown by the indicators in the display. When a personal trainer program or a...
- Page 12 Speed/Min-mile display will flash the maximum speed setting. The four profiles on the right side of the console show how the speed and incline of the treadmill will change during the programs. The numbers beside the profiles show the maximum speed and incline settings for the programs.
- Page 13 When the program has ended, make sure that the incline of the treadmill is at the lowest set- ting. Next, remove the key from the console and put it in a safe place.Note: If the displays and...
- Page 14 Time/Incline/Segment Time display and the Speed/Min-Mile display will flash. The speed and/or incline of the treadmill will then change, if needed, to bring your heart rate closer to the target heart rate setting for the next segment.
- Page 15 B. A. Plug one end of the audio cable into the jack on the front of the treadmill near the power cord. Plug the other end of the cable into the LINE OUT jack on your CD player.
- Page 16 B. A. Plug one end of the audio cable into the jack on the front of the treadmill near the power cord. Plug the other end of the cable into the included adapter. Plug the adapter into the LINE OUT jack on your stereo.
- Page 17 CONNECT YOUR HOME STEREO on page 16. A. Plug one end of the audio cable into the jack on the front of the treadmill near the power cord. Plug the other end of the cable into the included adapter. Plug the adapter into the AUDIO OUT jack on your VCR.
- Page 18 CD or video program, press the Stop button or remove the key and go to step 1 on page 17. Note: If the speed or incline of the treadmill does not change when a “chirp” is heard: • make sure that the iFIT.com indicator is lit and that the Time/Incline/Segment Time display is not flashing.
- Page 19 See www.iFIT.com for details. To use programs from our Web site, the treadmill must be connected to your home computer. See HOW TO CONNECT YOUR COMPUTER on page 16. In addition, you must have an internet connection and an internet service provider.
- Page 20 “demo” mode. This mode is intended to be used only when a treadmill is displayed in a store. When the console is in the demo mode, the power cord can be plugged in, the key can be removed from the...
-
Page 21: How To Fold And Move The Treadmill
2. Move your right hand to the position shown and hold the treadmill firmly. Using your left hand, pull the latch knob to the left and hold it. Raise the treadmill until the catch is past the latch pin. Slowly release the latch knob. Make sure that the catch is securely held by the latch pin. - Page 22 HOW TO LOWER THE TREADMILL FOR USE 1. Hold the upper end of the treadmill with your right hand as shown. Using your left hand, pull the latch knob to the left and hold it. Pivot the treadmill down until the frame is past the pin.
-
Page 23: Trouble-Shooting
PROBLEM: The power turns off during use SOLUTION: a. Check the circuit breaker located on the treadmill frame near the power cord (see c. above). If the circuit breaker has tripped, wait for five minutes and then press the switch back in. - Page 24 Repeat until the walking belt is properly tightened. PROBLEM: The incline of the treadmill does not change correctly or does not change when iFIT.com CDs and videos are played SOLUTION: a. With the key inserted in the console, press one of the Incline buttons. While the incline is changing, remove the key.
-
Page 25: Conditioning Guidelines
For maximum fat burning, adjust the speed and incline of the treadmill until your heart rate is near the middle number in your training zone. Aerobic Exercise If your goal is to strengthen your cardiovascular sys- tem, your exercise must be “aerobic.”... - Page 26 SUGGESTED STRETCHES The correct form for several basic stretches is shown at the right. Move slowly as you stretch—never bounce. 1. Toe Touch Stretch Stand with your knees bent slightly and slowly bend forward from your hips. Allow your back and shoulders to relax as you reach down toward your toes as far as possible.
- Page 27 NOTES...
- Page 28 REMOVE THIS EXPLODED DRAWING AND PART LIST FROM THE MANUAL Save this EXPLODED DRAWING and PART LIST for future reference. Note: Specifications are subject to change without notice. For information about ordering replacement parts, see the back cover of the User’s Manual.
- Page 29 PART LIST—Model No. 831.291670 No. Qty. Description Motor Hood iFIT.com CD Pivot Nut Motor Belt Motor Assembly Flywheel Motor Frame Spacer Plastic Fastener Front Roller Adj. Bolt Motor Pivot Bolt Lift Frame Pivot Bolt 13** Chest Pulse Motor Tension Nut Motor Washer Motor Pivot Nut Motor Tension Bolt...
- Page 30 EXPLODED DRAWING—Model No. 831.291670 R1101A...
-
Page 31: Replacement Parts
SEARS TREADMILL EXERCISER, contact the nearest SEARS Service Center throughout the United States and SEARS will repair or replace the TREADMILL EXERCISER, free of charge. This warranty does not apply when the TREADMILL EXERCISER is used commercially or for rental pur- poses.