Table of Contents
Advertisement
Quick Links
Advertisement
Table of Contents

Related Manuals for Audiovox D1420


Summary of Contents for Audiovox D1420
-
Page 2: Table Of Contents
A. Introduction ..3 B. Cautons and Warnings ... 4 C. Package Contents ... 7 D. Features ... 7 E. Powering and Installation ..7 F. Using the DVD Player Travel Bag ... 9 G. Controls and Indicators ..10 H. -
Page 3: Introduction
Macrovision Corporation. Reverse engineering or disassembly is prohibited. A. Introduction Thank you for choosing the D1420/D1420HP 4.2” Personal DVD player. The main features of this unit include a 4.2" Screen (16:9 aspect ratio) Liquid Crystal Display (LCD) monitor and a DVD player. -
Page 4: Cautons And Warnings
B. Cautions and Warnings Follow Instructions -- Follow all operating and maintenance instruc- tions and adhere to all warnings. Cleaning -- Unplug this product from the wall outlet before cleaning. Do not use liquid or aerosol cleaners. Accessories -- Do not use accessories not recommended in this instruction book as they may be hazardous. - Page 5 Overloading -- Do not overload wall outlets and extension cords as this can result in risk of fire or electric shock. Servicing -- Do not service this product yourself. Opening or removing covers may expose you to dangerous voltage or other hazards.
- Page 6 Warning A DVD player is a Class 1 laser product. This unit uses a visible laser beam, which could cause hazardous radiation exposure, if the safety interlocks are defeated. Be sure to operate the unit correctly as instructed. The following caution label is located on the rear panel of the player. Use of controls or adjustments or performance of procedures other than those specified herein may result in hazardous radiation exposure.
-
Page 7: Package Contents
Note: Both the DVD player and discs are coded by region. These region codes must match in order for the disc to play. If the codes do not match, the disc won’t play. This unit’s region code is 1. DVD’s with other region codes cannot be played in this unit. - Page 8 Using the battery Remove the AC adapter. Switch the ON/OFF switch to the ON position. If the battery is charged, it will power the unit. 2. Charging A built-in rechargeable battery (Ni-MH) is included for portable use. A fully charged battery will provide about 2 hours of playtime. Note: Charge the battery for at least 8 hours before you use it for the first time.
-
Page 9: Using The Dvd Player Travel Bag
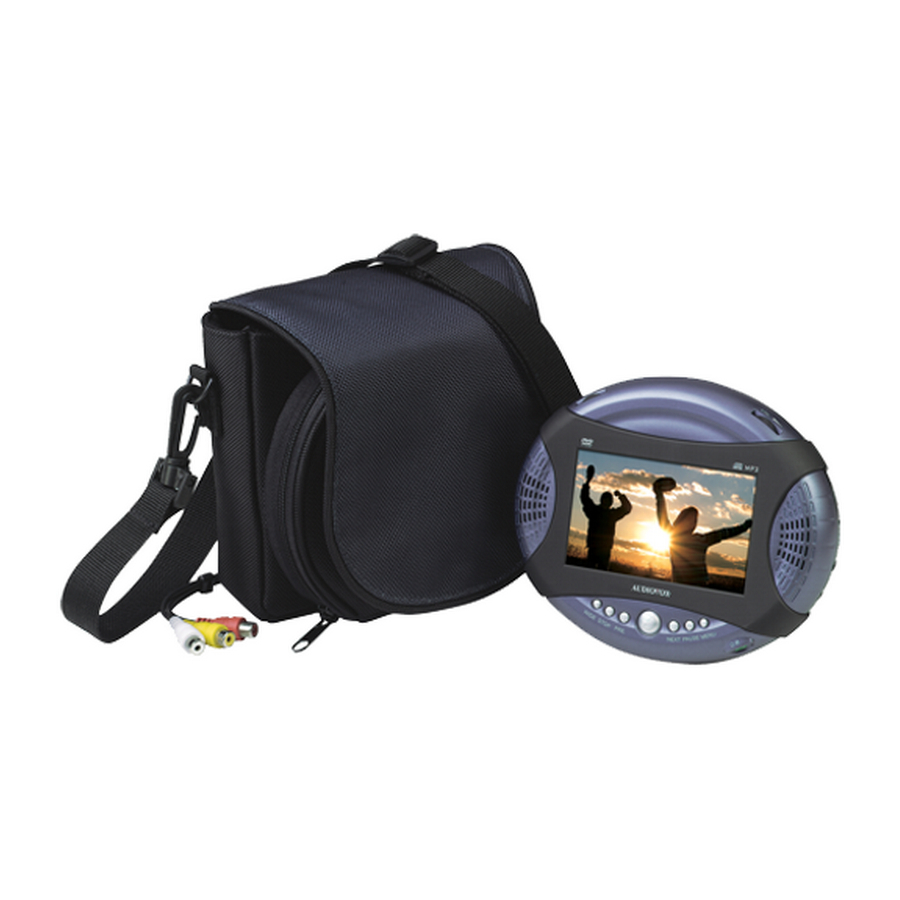
F. Using the DVD Player Travel Bag 1. Place the unit into the bag as shown in Figure 2. Close the cover on the bag. Connect the nylon carrying strap to the bag. 2. The front of the bag contains plastic pouches for discs as shown in Figure 3. -
Page 10: Controls And Indicators
G. Controls and Indicators (Figure 4) 1) Brightness Control 2) OPEN Latch 3) POWER Indicator 4) CHARGE Indicator 5) VOLUME Control 6) SETUP Button 7) STOP Button 8) PREVIOUS Button 9) PLAY/OK/UP/DOWN/LEFT/RIGHT Joystick Control Figure 4 10) NEXT Button 11) PAUSE Button 12) MENU Button 13) Power ON/OFF Switch 14) AV IN/OUT Switch... -
Page 11: Control Functions
H. Control Functions POWER OPEN PLAY/OK PAUSE NEXT PREVIOUS LEFT/RIGHT/UP/DOWN MENU SETUP I. Loading and Playing a Disc 1. After connecting power to the unit, turn the DVD player on by sliding the Power switch to the ON position. The power indicator will light. 2. -
Page 12: K. Setup
K. Setup Press SETUP to display the main screen of the Setup Menu on the screen. Press SETUP again to exit the Setup Menu, and the unit will resume its last playback mode. Note: To use some of the setup menu features, the unit must be in the STOP mode. - Page 13 b) Select Screen Saver mode on or off. On: Enables screen saver Off: Disables screen saver Note: The DVD player will enter the Screen Saver mode after approximately five minutes if the same image remains on the screen. c) Select Last Memory mode On or Off. On: The player will return to the last position on the disc.
- Page 14 2) Select the Video Quality. Set Brightness, Contrast, Hue and satura- tion to the desired levels. 3) Select the Password setup page, then input the Old Password or the Default Password and New password as prompted on the screen. Password Change Menu Screen Note: The Default Password is Left, Left, Menu, Right.
- Page 15 4) With no disc playing, select Preference to choose Audio language, Subtitle language, Disc Menu language, Parental level and Default setting. Note: 1. Language and subtitle selections are available only for discs that are recorded in the languages listed above. If the selected language is not available, the player will play and display on the screen the original language recorded in the disc.
-
Page 16: Menu
L. Menu When you play a DVD, disc’s main menu will appear on the screen of your TV or Monitor. The contents of the menu vary from disc to disc. Press MENU during playback to display the main menu. Some DVDs only allow you to select disc playback options using the DVD’s main menu. -
Page 17: Playing Jpeg Files
When an MP3 disc is inserted into the unit, the menu screen appears. Press the OK/PLAY button to begin playback. You can use the menu screen to change folders and songs. The system will play the songs in the order they were burned onto the disc. 1. -
Page 18: Input And Output Connections
P. Input and Output Connections You can also connect the DVD player to a TV to enjoy high quality stereo audio and video on another monitor. To connect the DVD player to a monitor requires the purchase of an audio/video cable. The cable is readily available at most electronic retailers. -
Page 19: Specifications
Connect the AV Cable 3.5mm jack into the DVD AV jack. Then, connect the three color-corresponding plugs to the AV Output Jacks on your game/camcorder or other equipment. Q. Specifications Compatible Discs: DVD/CD/MP3 Signal system: NTSC Panel size: 4.2 inch Resolution: 960 (RGB) x 234 Frequency response: 20 Hz to 20 kHz Video output: 1 Vp-p/75 Ohm, unbalanced... -
Page 20: Warranty
AUDIOVOX ELECTRONICS CORP. (the Company) warrants to the original retail purchaser of this product that should this product or any part thereof, under normal use and conditions, be proven defective in material or workmanship within 90 days from the date of original purchase, such defect(s) will be repaired or replaced with reconditioned product (at the Company's option) without charge for parts and repair labor.