
Related Manuals for 3Com OfficeConnect 3C16700A


Summary of Contents for 3Com OfficeConnect 3C16700A
- Page 1 ® OfficeConnect Ethernet Hub 4, 4C, 8, 8C User Guide (3C16704A, 3C16703A, 3C16700A, 3C16701A)
- Page 2 3Com Technologies. 3Com Technologies reserves the right to revise this documentation and to make changes in content from time to time without obligation on the part of 3Com Technologies to provide notification of such revision or change.
-
Page 3: Table Of Contents
Introduction 5 Creating your Network 6 What Else Do I Need? 6 Workstation Connections 6 Transceiver Connections 6 Hub Connections 7 10BASE-2 7 10BASE-T 7 Twisted Pair (TP) Cables 7 Stacking the Units Together 8 The Rubber Feet 8 The Stacking Clip 8 Positioning Your Hub 9 Securing Your Hub 9 Using Your Hub 9... - Page 4 Consignes importantes de sécurité 29 Technical Support 30 Online Technical Services 30 World Wide Web Site 30 3Com Knowledgebase Web Services 30 Support from Your Network Supplier 31 Support from 3Com 31 Returning Products for Repair 34 3Com Corporation Limited Warranty 35...
-
Page 5: Introduction
NTRODUCTION Welcome to the world of networking with 3Com modern business environment, communication and sharing information is crucial. Computer networks have proved to be one of the fastest modes of communication but, until recently, only large businesses could afford the advantage of ®... -
Page 6: Creating Your Network
If you want to connect a transceiver to your hub (Hub 4C only), you need: An AUI cable. The maximum length you can use is 50m (164ft). A 10Mbps Ethernet transceiver for the chosen media type. 3Com produce a range of easy to use transceivers. -
Page 7: Hub Connections
Hub Connections Depending on what ports your hub has, you can use either 10BASE-T or 10BASE-2 to connect your hubs together: With 10BASE-2 you can connect up to 30 hubs on a single segment, leaving all of the 10BASE-T ports free. With 10BASE-T you can connect up to four hubs in series. -
Page 8: Stacking The Units Together
Stacking the Units Together The Rubber Feet The four self-adhesive rubber feet prevent your hub from moving around on your desk. Only stick the feet to the marked areas at each corner of the underside of your hub if you intend to place the unit directly on top of the desk. Do not fix the feet if you are going to use the clip. -
Page 9: Positioning Your Hub
CAUTION: Only wall mount single hubs, do not wall mount stacked hubs. Also available from 3Com, is the OfficeConnect Mounting Unit (part number 3C16765). This allows you to firmly secure a stack of OfficeConnect devices to the desktop or onto a shelf in a rack. -
Page 10: The Officeconnect Ethernet Hub 4 And 4C
FFICE ONNECT Ethernet Hub 4 and 4C—Front Alert LED Activity LED orange (Hub 4 only) Alerts you to excessive yellow network use or an Flashes each time isolated (partitioned) a packet is 10BASE-T port. received on a port. Port Status Alert Power Activity... -
Page 11: Ethernet Hub 4 And 4C-Rear
10BASE-2 port. Uplink Normal (Hub 4C only) Uplink/Normal switch Affects the operation of port 4. For correct usage, refer to “Connecting Hubs Using 10BASE-T” on page 14. Four 10BASE-T RJ-45 ports Use 10BASE-T cable with RJ-45 connectors. -
Page 12: Connecting Workstations And Other Equipment To Your Hub
If you are using port 4 to connect to a workstation using a straight-through TP cable, ensure the Uplink/Normal switch is set to Normal (out). The hub detects all port connections, so you can start using your network immediately. When you need more ports, simply add more OfficeConnect hubs. -
Page 13: Connecting Hubs Using 10Base-2
Connecting Hubs Using 10BASE-2 Connect a 10BASE-2 ‘Y’ piece to each of your hubs (Hub 4C only). Connect the ‘Y’ pieces with 10BASE-2 cable to form a single segment, as shown in Figure 4. Remember to terminate the two free ends of the segment by fitting terminators (end pieces). -
Page 14: Connecting Hubs Using 10Base-T
Set all Uplink/Normal switches to Uplink (in) except for the top hub (the one with port 4 not connected to another hub). This unused port can be connected to a workstation provided that the Uplink/Normal switch is set to Normal (out). Checking Connections When you have connected your hubs, power them on. -
Page 15: Problem Solving For The Hub 4 And 4C
Check your hub connections; follow the information given for your hub. With 10BASE-T it is likely an Uplink/Normal switch is incorrectly set. With 10BASE-2 it is likely a terminator (end piece) is not properly fitted; this would cause the Coax Port Status LED to light yellow (partition). - Page 16 If the cable is connected to port 4, ensure that the Uplink/Normal switch is set to Normal (out). Also check that the equipment being connected to the hub is powered on and operating correctly.
-
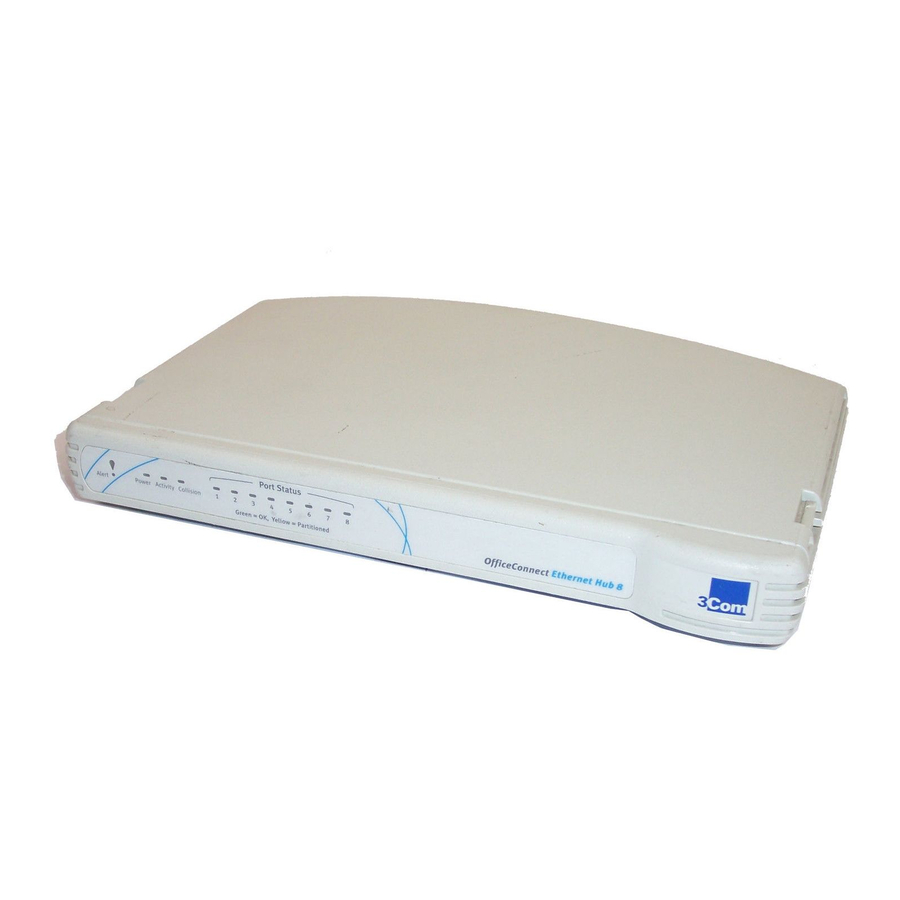
Page 17: The Officeconnect Ethernet Hub 8 And 8C
FFICE ONNECT Ethernet Hub 8 and 8C—Front Alert LED Activity LED orange (Hub 8 only) Alerts you to excessive yellow network use or an Flashes each time a isolated (partitioned) packet is received 10BASE-T port. on a port. Alert Power Activity Collision Power LED... -
Page 18: Ethernet Hub 8 And 8C-Rear
OfficeConnect hub. Do not use any other adapter. (Hub 8C only) Uplink/Normal Uplink/Normal switch Affects the operation of port 8. For correct usage, refer to “Connecting Hubs Using 10BASE-T” on page 21. Eight 10BASE-T RJ-45 ports Use 10BASE-T cable with RJ-45 connectors. You can connect the OfficeConnect hub to any workstation or piece of equipment that has a 10BASE-T port. -
Page 19: Connecting Workstations And Other Equipment To Your Hub
If you are using port 8 to connect to a workstation using a straight-through TP cable, ensure the Uplink/Normal switch is set to Normal (out). The hub detects all port connections, so you can start using your network immediately. When you need more ports, simply add more OfficeConnect hubs. -
Page 20: Connecting Hubs Using 10Base-2
Connecting Hubs Using 10BASE-2 Connect a 10BASE-2 ‘Y’ piece to each of your hubs (Hub 8C only). Connect the ‘Y’ pieces with 10BASE-2 cable to form a single segment, as shown in Figure 7. Remember to terminate the two free ends of the segment by fitting terminators (end pieces). -
Page 21: Connecting Hubs Using 10Base-T
Set all Uplink/Normal switches to Uplink (in) except for the top hub (the one with port 8 not connected to another hub). This unused port can be connected to a workstation provided that the Uplink/Normal switch is set to Normal (out). Checking Connections When you have connected your hubs, power them on. -
Page 22: Problem Solving For The Hub 8 And 8C
Check your hub connections; follow the information given for your hub. With 10BASE-T it is likely an Uplink/Normal switch is incorrectly set. With 10BASE-2 it is likely a terminator (end piece) is not properly fitted; this would cause the 10BASE-2 Port Status LED to light yellow... - Page 23 If the cable is connected to port 8, ensure that the Uplink/Normal switch is set to Normal (out). Also check that the equipment being connected to the hub is powered on and operating correctly.
-
Page 24: Networking Terminology
ETWORKING ERMINOLOGY A Network is a collection of workstations (for example, IBM-compatible personal computers) and other equipment (for example, printers), connected for the purpose of exchanging information. Networks vary in size, some are within a single room, others span continents. A Local Area Network (LAN) is a network, usually in an office, that spans no more than a single site. -
Page 25: Dimensions And Standards
IMENSIONS AND TANDARDS Dimensions and Operating Conditions 0-40°C (32-105°F) operating temperature 0-90% (non-condensing) humidity Power OfficeConnect Ethernet Hub 4 4 VA, 14 BThU/hr OfficeConnect Ethernet Hub 4C 12 VA, 40 BThU/hr OfficeConnect Ethernet Hub 8 11 VA, 38 BThU/hr OfficeConnect Ethernet Hub 8C 12 VA, 40 BThU/hr Standards Functional:... -
Page 26: Environmental Statements
NVIRONMENTAL TATEMENTS It is the policy of 3Com Corporation to be environmentally-friendly in all operations. To uphold our policy, we are committed to: Establishing environmental performance standards that comply with national legislation and regulations. Conserving energy, materials and natural resources in all operations. -
Page 27: Important Safety Information
MPORTANT AFETY WARNING: Warnings contain directions that you must follow for your personal safety. Follow all directions carefully. You must read the following safety information carefully before you install or remove the unit: Exceptional care must be taken during installation and removal of the unit. -
Page 28: Wichtige Sicherheitshinweise
Es sind keine von dem Benutzer zu ersetzende oder zu wartende Teile in dem Gerät vorhanden. Wenn Sie ein Problem mit dem Switch haben, das nicht mittels der Fehleranalyse in dieser Anleitung behoben werden kann, setzen Sie sich mit Ihrem Lieferanten in Verbindung. -
Page 29: Consignes Importantes De Sécurité
ONSIGNES IMPORTANTES DE SÉCURITÉ AVERTISSEMENT: Les avertissements présentent des consignes que vous devez respecter pour garantir votre sécurité personnelle. Vous devez respecter attentivement toutes les consignes. Nous vous demandons de lire attentivement les consignes suivantes de sécurité avant d’installer ou de retirer l’appareil: Faites très attention lors de l'installation et de la dépose du groupe. -
Page 30: Technical Support
3Com Corporation World Wide Web site. Online Technical Services 3Com offers worldwide product support 24 hours a day, 7 days a week, through the following online systems: World Wide Web site. 3Com Knowledgebase Web Services. -
Page 31: Support From Your Network Supplier
If you are unable to contact your network supplier, see the following section on how to contact 3Com. Support from 3Com If you are unable to obtain assistance from the 3Com online technical resources or from your network supplier, 3Com offers technical telephone support services. To find out more... - Page 32 Here is a list of worldwide technical telephone support numbers: Country Telephone Number Asia, Pacific Rim Australia 1 800 678 515 Hong Kong 800 933 486 India +61 2 9937 5085 Indonesia 001 800 61 009 Japan 0031 61 6439 Malaysia 1800 801 777 New Zealand...
- Page 33 Country Telephone Number Latin America Argentina AT&T +800 666 5065 Brazil 0800 13 3266 Chile 1230 020 0645 Colombia 98012 2127 North America 1 800 876-3266 Country Telephone Number Mexico 01 800 CARE (01 800 Peru 2273) Puerto Rico AT&T +800 666 5065 Venezuela 800 666 5065 AT&T +800 666 5065...
-
Page 34: Returning Products For Repair
Returning Products for Repair Before you send a product directly to 3Com for repair, you must first obtain a Return Material Authorization (RMA) number. Products sent to 3Com without authorization numbers will be returned to the sender unopened, at the sender’s expense. -
Page 35: 3Com Corporation Limited Warranty
January 1, 2000, and Customer notifies 3Com before the later of April 1, 2000, or ninety (90) days after purchase of the product from 3Com or its authorized reseller,... - Page 36 (DOA) and a replacement shall be provided by advance replacement. The replacement product will normally be shipped not later than three (3) business days after 3Com’s verification of the DOA product, but may be delayed due to export or import procedures. When an advance replacement is provided and...
- Page 37 This Limited Warranty shall be governed by the laws of the State of California, U.S.A. excluding its conflicts of laws principles and excluding the United Nations Convention on Contracts for the International Sale of Goods. 3Com Corporation 5400 Bayfront Plaza Santa Clara, CA 95054...
-
Page 38: Electromagnetic Compatibility
LECTROMAGNETIC OMPATIBILITY FCC S TATEMENT This equipment has been tested and found to comply with the limits for a Class B digital device, pursuant to Part 15 of the FCC Rules, and the Canadian Department of Communications Equipment Standards entitled, “Digital Apparatus,”... - Page 39 Wall mounting screw hole guide 150 mm (5.9 in)