Orion SkyQuest IntelliScope XT6 Instruction Manual
Orion telescopes & binoculars skyquesttm intelliscopetm user"s manual xt6, xt8, xt10
Hide thumbs
Also See for SkyQuest IntelliScope XT6:
- Quick start manual (3 pages) ,
- Instruction manual (20 pages) ,
- Instruction manual (12 pages)
Advertisement
Advertisement

Related Manuals for Orion SkyQuest IntelliScope XT6


Summary of Contents for Orion SkyQuest IntelliScope XT6
- Page 1 INSTRUCTION MANUAL Orion ® SkyQuest IntelliScope ™ ™ XT6, XT8, XT10 #9816, #9918, #9950 Customer Support (800) 676-1343 E-mail: support@telescope.com Corporate Offices (831) 763-7000 P.O. Box 1815, Santa Cruz, CA 95061 Providing Exceptional Consumer Optical Products Since 1975 IN 226 Rev. C 11/10...
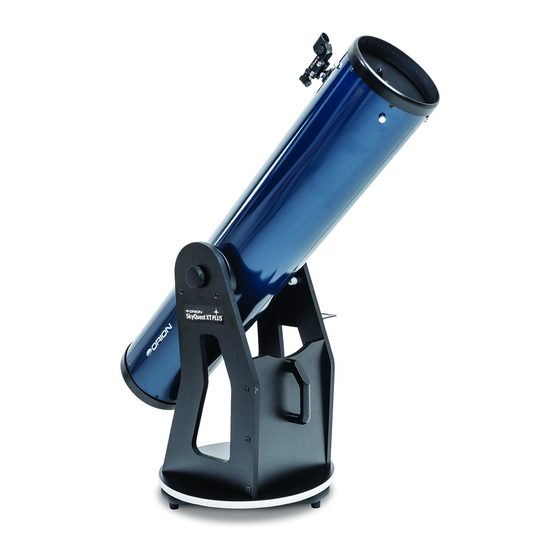
- Page 2 Secondary mirror holder with 4-vane spider (not visible) Navigation knob Retaining knob (opposite side) Computerized Object Locator (optional) Right side panel Eyepiece rack Front brace Handle Top baseplate Ground baseplate Figure 1. The SkyQuest XT8 IntelliScope Finder scope Finder scope bracket Eyepiece Focuser Optical tube...
-
Page 3: Table Of Contents
Congratulations on your purchase of an Orion SkyQuest XT IntelliScope Dobsonian. It is a high-per- formance astronomical instrument designed to provide dazzling views of celestial objects and unprecedented ease of use. With the addition of the optional IntelliScope Computerized Object Locator (Controller), you gain the ability to locate and view thousands of celestial objects with the push of a but- ton. -
Page 4: Assembly
Now that you have unpacked the boxes and familiarized your- self with all the parts in front of you, it’s time to begin assembly. The optics of the telescope are already installed in the tube, so most of the required assembly concerns the Dobsonian base. - Page 5 Do not attempt to permanently secure the bearing pads by any means as this will interfere with the motion of the telescope. 7. Place one fender washer (H) onto the azimuth axis screw (I).
- Page 6 Encoder connector board Screws Figure 6. Attaching the encoder connector board. (XT10 Shown) by adding or removing washers. This is important when using the optional IntelliScope Computerized Object Locator, since the optical tube must be exactly vertical during the two-star alignment procedure.
- Page 7 With the XT system, you can change eyepieces or add a barlow lens without hav- ing to tediously adjust the telescope’s balance as you would with other Dobsonians. The altitude friction can be made equal to the azimuth friction, ensuring optimal performance.
-
Page 8: Using Your Telescope
The basic assembly of your SkyQuest IntelliScope Dobsonian is now complete. It should appear as shown in Figure 1. The dust cap on the front of the telescope tube should always remain in place when the telescope is not in use. - Page 9 A good way to set the altitude tension is to point the telescope at about a 45° angle with the eyepiece and finder scope removed. Loosen the altitude tension knob until the front of the optical tube starts to drift upward.
- Page 10 Start by once again moving the telescope until it is pointed in the general direction of the object you want to see. Some observers find it convenient to sight along the tube to do this.
- Page 11 The base has a handle for easy carrying. With the retaining and tensioning knobs of the CorrecTension(XT) system hold- ing the optical tube captive on the base, the entire telescope can be carried as one unit. (This is not practical for the XT10 due to its hefty weight and size.) This requires some caution,...
-
Page 12: Alignment (Collimation) Of The Optical System
Orion LaserMate Laser Collimator. The center ring need not be removed from the primary mirror! When the mirrors are properly aligned, the view down the focuser drawtube should... - Page 13 The secondary mirror itself should be cen- tered in the focuser drawtube, in the direction parallel to the length of the telescope. If it isn’t, as in Figure 18b, it must be adjusted. This adjustment will rarely, if ever need to be done.
- Page 14 Star-Testing the Telescope When it is dark, point the telescope at a bright star high in the sky and center it in the eyepiece’s field of view. Slowly defo- cus the image with the focusing knob. If the telescope is correctly collimated, the expanding disk should be a perfect circle (Figure 24).
-
Page 15: Astronomical Observing
Atmospheric turbulence will worsen the effects of refraction, which can cause the image you see in your telescope to be unstable. The steadiness of the atmosphere is called “seeing.” In conditions of good “seeing,” star twinkling is minimal and objects appear steady in the eyepiece. - Page 16 B. The Sun You can change your nighttime telescope into a daytime Sun viewer by installing an optional full-aperture solar filter over the front opening of the telescope. The primary attraction is sunspots, which change shape, appearance, and location daily.
-
Page 17: Optional Intelliscope Computerized Object Location
Certain photograph aids, such as the Orion SteadyPix, can help in taking photos by the afocal method. -
Page 18: Care And Maintenance
Small components like eyepieces and other accessories should be kept in a protective box or storage case. Keep the cloth dust cover on the front of the telescope when not in use. Your SkyQuest IntelliScope requires very little mechanical maintenance. The optical tube is steel and has a smooth painted finish that is fairly scratch-resistant. -
Page 19: Specifications
8. Specifications SkyQuest XT6 IntelliScope Primary mirror:150mm diameter, parabolic, center-marked Focal length: 1200mm Focal ratio: f/8.0 Focuser:Rack-and-pinion. 1.25" eyepieces Altitude bearing diameter: 5.75" Optical tube material: Rolled steel Azimuth pad material: Teflon Altitude bearing material: Ultra-high molecular weight (UHMW) polyethylene Eyepieces: 25mm &... - Page 20 During this warranty period Orion Telescopes & Binoculars will repair or replace, at Orion’s option, any warranted instrument that proves to be defective, provided it is returned postage paid to: Orion Warranty Repair, 89 Hangar Way, Watsonville, CA 95076. If the product is not registered, proof of purchase (such as a copy of the orig- inal invoice) is required.