Advertisement
Available languages
Available languages
Quick Links
3
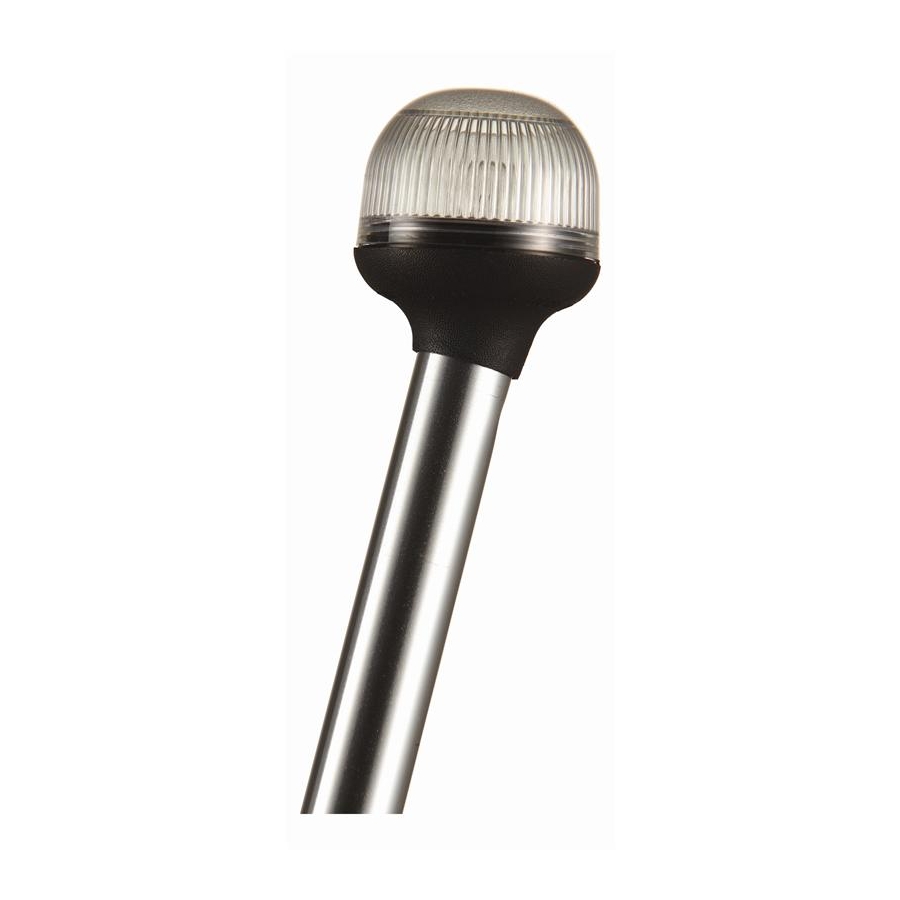
Anti-Glare All-Round Light
5300, 5310, or 5320 Series: Fixed Head
5330 Series: Articulating Head
Installation Instructions
SAVE THESE INSTRUCTIONS
Form Number 69388 Rev. A
This product carries the standard Attwood one-year warranty.
See www.attwoodmarine.com or Product Catalog for details.
Lights meet USCG CFR 183.810, ABYC A-16 requirements, and all
applicable standards as tested by Imanna Labs, 7/19/2002. 2 Nautical
Mile visibility. Use Lamp 9235, #906 13V, 6 Candle Power.
CAUTION:
Read all instructions carefully before installing and using this product.
All positive (+12V DC) lighting wires require a 1-amp fuse to protect
circuits and vessel. The aluminum light pole is not grounded. MAKE
SURE POWER SOURCE IS 12-VOLT DC ONLY. HIGHER VOLTAGE
WILL DAMAGE LIGHT AND CIRCUITRY.
WARNING:
To prevent injury, disconnect power when installing or servicing this
product. Remove boat from water before using any 120V AC power tools.
LOCATION
Anti-Glare All-Round Lights are designed for boats up to 39.4 feet (12m).
Position the Anti-Glare All-Round Light so bulb is not less than one meter
(39.4") above sidelights. If replacing an existing pole light, replace with a
pole at least as long as the existing.
Mount the anti-glare light in a position so that:
• Light output is flat and parallel to water when boat is floating.
• Light shines 360 , unobstructed.
• Light does not shine on operator, or reflect off any part of the boat in
the operator's field of vision.
Figure 1
One meter
or 39-3/8"
INSTALLATION
Figure 2
911370, or 911445
Poles Without Locking Collar (5300 Series)
1. Align pole screw with slot in the existing base. Insert pole into base
(Figure 2).
2. Press down firmly to engage electrical connectors.
3. To remove, pull straight up.
Poles With Locking Collar (5310, 5320, 5330 Series)
1. Align pole screw with slot in the existing base. Insert pole into base (Figure 3).
2. Press down firmly to engage electrical connectors.
3. Slide locking collar down to base, rotate until you can insert lower ring
inside top of base.
4. Press collar down into base and rotate until it tightens between pole
and base.
NOTE: Periodically check pole to make sure it is secure.
®
Base #911339,
Pole Screw
•
5. To remove light, rotate locking collar in opposite direction until it
loosens, then pull up on pole. (Figure 3)
Figure 3
Locking
Collar
•
Lower
Ring
•
Screw
•
03-02
TO CONVERT POLE FOR USE WITHOUT LOCKING COLLAR
1. For bases that do not accept locking collar, remove screw at bottom of
pole. Slide locking collar off end of pole.
2. Replace screw in the upper screw hole.
TO ADJUST ANTI-GLARE ARTICULATING HEAD
(5330 Series)
For best glare reduction, adjust the light while the boat is floating, or at
the same attitude as if it were floating.
1. Unscrew lens counter-clockwise and remove. Remove bulb (Figure 4)
2. Remove the pivot screw. Pull the top pivot up and away from yoke.
Place a small level on top of the socket and rotate to level position.
3. When it is level, push yoke and pivot back together. Replace and
tighten screw. (Do not over tighten.) Replace bulb.
Figure 4
7.5
OPERATION
After installation, check lights to verify proper operation. Regulations
require lights to be operated with a three-position switch for:
• Running lights (sidelights and all-round light); Anchor lights (all-round
light only); Off.
NOTE: Do not use light pole as a flagpole or handle.
MAINTENANCE
When not in use, store in Pole Light Storage Clips (Attwood 7571).
Choose a storage location where light will not be damaged or be in
constant contact with water.
Replacing Bulb
1. Unscrew lens counter-clockwise and remove. Pull bulb straight up
(Figure 4)
2. Replace bulb with #906 9-Watt Wedge Base Replacement Bulb
(Attwood 9235-7) available in marine, auto, and convenience stores.
3. Screw lens clockwise onto pole.
4. If lens requires replacement, order Attwood #912852.
Clean the light with a mild soap and warm water solution. Never use
solvents or abrasives that may damage the lens or light housing.
© 2003 Attwood Corporation
1016 N. Monroe Street, Lowell, MI 49331-0260 www.attwoodmarine.com
#91020,
#91024,
or #91026
Off
On
Lens
Bulb #906
Pivot Screw
#91022
Advertisement

Related Manuals for Attwood 5300 Series


Summary of Contents for Attwood 5300 Series
- Page 1 Off. NOTE: Do not use light pole as a flagpole or handle. MAINTENANCE When not in use, store in Pole Light Storage Clips (Attwood 7571). • Choose a storage location where light will not be damaged or be in constant contact with water.
- Page 2 Lorsque le feu n’est pas utilisé, entreposez-le à l’aide de l’agrafe d’entreposage • du feu à mât (Attwood 7571). Choisissez un emplacement où le feu ne sera pas endommagé et où il ne sera pas constamment en contact avec l’eau.