
Related Manuals for Panasonic K-EF134L02E


Summary of Contents for Panasonic K-EF134L02E
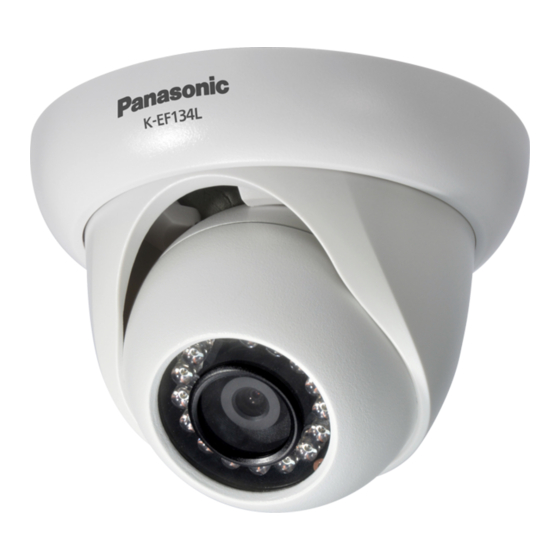
- Page 1 HD IR Weatherproof Network Dome Camera Quick Start Guide K-EF134L02E Model No. K-EF134L03E K-EF134L06E Version 1.0.2...
- Page 2 Welcome Thank you for purchasing our network camera! This quick start guide is designed to be a reference tool for your system. Please keep this start guide well for future reference. Please open the accessory bag to check the items one by one in accordance with the list below. Contact your local retailer ASAP if something is missing or damaged in the bag.
- Page 3 6. Daily Maintenance Please shut down the device and then unplug the power cable before you begin daily maintenance work. Do not touch the CCD (MOS) optic component. You can use the blower to clean the dust on the lens surface. Always use the dry soft cloth to clean the device.
-
Page 4: Table Of Contents
Table of Contents Structure ............................1 Components ........................1 Framework and Dimension ..................2 Device Installation ........................3 Installation Steps for Plastic Dome ................3 Restore Factory Default Setup Introduction ............. 5 Quick Configuration Tool ......................6 Overview ........................6 Operation ........................ -
Page 5: Structure
1 Structure 1.1 Components You can refer to the following figure for multiple-function combination cable information. See Figure Figure 1-1 Multiple-function combination cable Component Name Device lens Dome body Dome enclosure Portname Function Connection Note Network connect standard Ethernet port Ethernet cable. -
Page 6: Framework And Dimension
1.2 Framework and Dimension Please refer to the following two figures for dimension information. The unit is mm. See Figure 1-2 and Figure 1-3. Figure 1-2 Dimension illustration 1 Figure 1-3 Dimension illustration 2... -
Page 7: Device Installation
2 Device Installation Important • Make sure that the installation area is strong enough to hold the product, such as a concrete ceiling. • Install the camera in the foundation area of the architecture or where sufficient strength is assured. •... - Page 8 Important Please pay attention to the dome camera direction when you are installing. Please refer to the following figure for detailed information. See Figure 2-2. Figure 2-2 Device installation illustration 2 Note This series product supports two cable exits. One is from the bottom and the other is from the side.
-
Page 9: Restore Factory Default Setup Introduction
2.2 Restore Factory Default Setup Introduction Important Please use RESET button when device is running. Step1 Please refer to step1 and step2 in chapter 2.1 to loose the dome body. Push a little bit; you can take the dome body from the gland cover. Step2 Take the dome body out and then turn the top cover hard to remove. -
Page 10: Quick Configuration Tool
3 Quick Configuration Tool 3.1 Overview Quick configuration tool can search current IP address, modify IP address. At the same time, you can use it to upgrade the device. Please note the tool only applies to the IP addresses in the same segment. 3.2 Operation Double click the “ConfigTools.exe”... - Page 11 If you want to modify the device IP address without logging in the device web interface, you can go to the configuration tool main interface to set. In the configuration tool search interface (Figure 3-1), please select a device IP address and then double click it to open the login interface.
-
Page 12: Web Operation
4 Web Operation This series network camera products support the Web access and management via PC. Web includes several modules: Monitor channel preview, system configuration, alarm and etc. 4.1 Network Connection Please follow the steps listed below for network connection. ... - Page 13 Figure 4- 2 Web login If it is your first time to log in, system pops up warning information to ask you whether install web plug- in or not after you logged in for one minute. For detailed plug-in installation, please refer to the Web Operation Manual included in the resource CD.