
Related Manuals for Danby dac060eb3gdb


Summary of Contents for Danby dac060eb3gdb
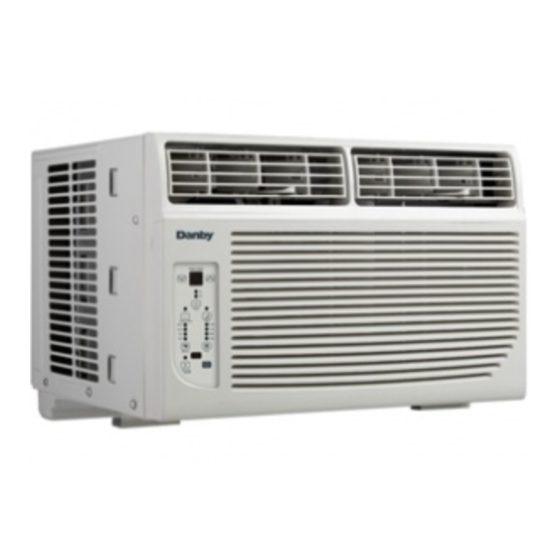
- Page 1 OWNER’S USE AND CARE GUIDE AIR CONDITIONER Mod el • M odèle • Modelo MODEL DAC060EB3GDB DANBY PRODUCTS LIMITED, ONTARIO, CANADA N1H 6Z9 DANBY PRODUCTS INC., FINDLAY, OHIO, USA 45840 25.12.13...
-
Page 2: Table Of Contents
• Welcome CAUTION: • Important Safety Information • Features Read and follow all safety rules and operating • Installation Instructions instructions before fi rst use of this product. • Operation Instructions • Care and Maintenance • Troubleshooting • Warranty Model DAC060EB3GDB... -
Page 3: Owner's Use And Care Guide
WELCOME Welcome to the Danby family. We are proud of our quality products, and we believe in dependable service, like you will fi nd in this Owner’s Use and Care Guide, and like you will receive from our friendly customer service department. Best of all, you will experience these values each and every time you use your Danby appliance. -
Page 4: Important Safety Information
6) The rating plate on the unit contains electrical and other technical data. The rating plate is located on the right side of the unit, above the power cord. TABLE 1 DAC060EB3GDB Suggested Individual Branch Circuit Nameplate Amps *AWG Wire Size AWG- American Wire Gauge *Based on copper wire at 60°C temperature rating. -
Page 5: Features
FOR YOUR SAFETY: Read these instructions carefully before operating the unit. ENERGY SAVING TIPS Your Danby appliance is designed to be highly efficient in energy savings. Follow these recommendations for greater efficiency. 1) Select a thermostat setting that suits your comfort needs and leave at that chosen setting. -
Page 6: Installation Hardware
Installation Instructions INSTALLATION Fig. 1 1/2in. (13mm) Safety Lock (1) HARDWARE screws (7) 3/8in. (9.5mm) screws “L” Shaped (4) *Factory installed mounting on some models bracket (1) * Factory installed on some models Sash bracket (2) Adhesive Foam Seal(1) Side Curtain RH (1) Side Curtain LH (1) Regular Foam Seal(1) -
Page 7: Location
Installation Instructions LOCATION Fig. 2 Awning 20” 12” Min 20” Fence, 30” Side wall, or Obstruction other obstacle Ground 1) Assembly of the Upper Channel to Cabinet. (Factory installed on some units) • “L” Shaped Top Channel: Install the “L” shaped channel to the top of the cabinet as shown in Fig. - Page 8 If you notice water leaking out, check the angle of tilt, and make any necessary adjustments. However, on a very humid day, water leakage can occur – this is normal. Measure the tilt angle from the cabinet’s edge. The distance H should be approximately 3/4” to 1” for DAC060EB3GDB. Fig. 5 Fig. 6...
-
Page 9: Operating Instructions
Operating Instructions KEY PAD FEATURES LED DISPLAY: Displays the following information independently - Set Temperature, Ambient RoomTemperature and Auto Timer On/Off settings. POWER: Turns unit On/Off. NOTE: The unit will automatically launch the Energy Saver function when it is in Cool, Dry, and Auto modes. MODE: Allows you to scroll through and select the desired operating mode: Cool , *Dry , Fan Only and **Auto. -
Page 10: Using The Remote
Operating Instructions AUTO-TIMER: Used to initiate the Auto On/ Auto Off timer. While the Air Conditioner is off (Auto-On): 1) Press the Auto-Timer button once and the adjacent Auto-On indicator light will illuminate. 2) Use the Temp/Timer control cursors to select a delayed On time of up to 24 hours. - Page 11 Operating Instructions REMOTE CONTROLLER BUTTONS Electronic Display Displays the following information: A: Remote Control power On/Off and Mode f and M Icons B: Clock and Auto-Timer settings C: Current set temperature D: Fan speed setting control buttons 1) Power switch. NOTE: The unit will automatically launch the Energy Saver function when it is in Cool, Dry, and Auto modes.
- Page 12 Operating Instructions CHANGING THE BATTERIES ON THE REMOTE To operate the hand held remote control will require two “AAA” Alkaline batteries (included). Batteries should be replaced when: a) No signal (beep) is heard when attempting to program the main unit. b) The main unit does not respond to a command issued by the remote control.
-
Page 13: Care And Maintenance
Care and Maintenance NOTE: In order to avoid electric shock, please turn off the A/C and unplug the plug before mainte- CLEANING nance or repair. When cleaning the air conditioner be sure to disconnect the power cord from the electrical outlet. 1. -
Page 14: Troubleshooting
Occasionally a problem may arise that is minor in nature, and a service call may not be neccessary. Use this troubleshoot- ing guide for a possible solution. If the unit continues to operate improperly, call an authorized service depot or Danby`s Toll Free Number 1-800-263-2629 for assistance. Air conditioner will •... -
Page 15: Warranty Service
Sale of Goods Act or like legislation Nothing within this warranty shall imply that Danby will be responsible or liable for any spoilage or damage to food or other c ontents of this appliance, whether due or statute is hereby expressly excluded. -
Page 16: Model Dac060Eb3Gdb
TOLL FREE number. When requesting service or ordering parts, always pro- vide the following information: • Product Type • Model Number • Part Number • Part Description Tel: 1-800-26- (1-800-263-2629) MODEL DAC060EB3GDB Printed in China Impreso en China República Popular de China...