
Related Manuals for Vision Fitness AR700


Summary of Contents for Vision Fitness AR700
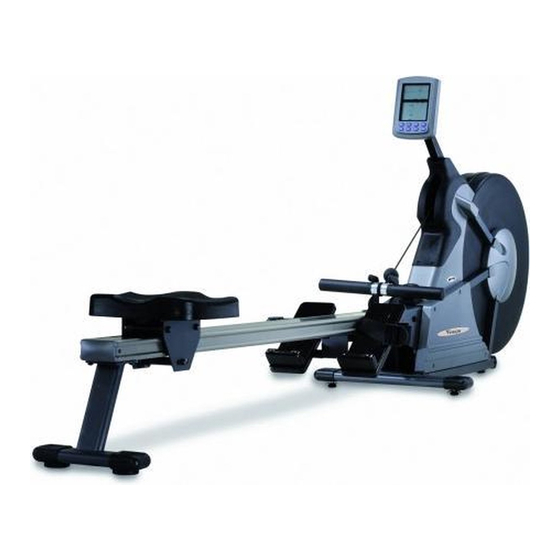
- Page 1 O w n e r’s G u i d e www.visionfitness.com ©2008 Vision Fitness. All Rights Reserved. 3.08 VER1.0 0000086553 AR700 AIR ROWER...
-
Page 2: Table Of Contents
TABLE OF CONTENTS INSTRUCTIONS IMPORTANT SAFETY INSTRUCTIONS SETUP THE AIR ROWER • Getting Started • Making A Choice Of Site • Before Your First Row ASSEMBLY • Unpacking The Air Rower • Assembly Steps SERIAL NUMBER LOCATION USING THE WORKOUTS •... -
Page 3: Instructions 02
• Never operate the Air Rower if it is not working properly, or if it has been damaged or immersed in water. Return it to Vision Fitness or authorized dealers for examina- • To ensure your safety and to protect the unit, read all the instructions before tion and repair. -
Page 4: Setup The Air Rower
CAUTION: The AR700 weights 41 kg (90 lbs). To avoid injury to the user and the unit, MAKING A CHOICE OF SITE be sure to have proper assistance to move the unit. -
Page 5: Assembly Steps
FASTENERS & ASSEMBLY TOOLS ASSEMBLY STEPS COLOR STEP 1 PARTS NO. DESCRIPTION QUANTITY SKETCH OF BAG Secure the front foot (G) to the frame bracket using two screws (H04). SOCKET BUTTON HEAD BOLT (M8 x 1.25P x 32L) White SOCKET BUTTON HEAD SCREW (M6 x 1.0P x 15L) SPRING WASHER (SW6 6.1 x 12. - Page 6 STEP 3 STEP 5 1) Mount the seat (D) to the seat bracket (E) with 4 screws (D09) and spring washers 1) Connect the sensor cables from the main frame (A) and the aluminium rail (B). (D10). 2) Slide the seat assembly onto the aluminium rail (B). 3) Attach the seat stop bumper (K) to the aluminium rail using one screw (F07) and one flat washer (F19).
-
Page 7: Serial Number Location
SERIAL NUMBER LOCATION STEP 6 Plug the two console cables into the console (F). Secure the console to the console support by using the bolt (N08) and nylon nut (N09). SERIAL # PLACEMENT... -
Page 8: Using The Workouts
USING THE WORKOUTS TRAINING PROGRAM To turn the screen display on, press POWER button. When the display comes on, "00:00" will be flashing in the TIME window. SPM training. You can either choose Time or Distance as your training target. MANUAL PROGRAM Choose Time and Start You can either choose Time or Distance as your target. -
Page 9: Product Specifications
DAILY MAINTENANCE Drive System Coil spring poly-V belt Vision Fitness recommends the Air Rower be cleaned before and after each workout. The following daily maintenance tips will keep your unit operating at peak performance: Product Weight 41 kg / 90 lbs...