
Related Manuals for Jensen CD-470A


Summary of Contents for Jensen CD-470A
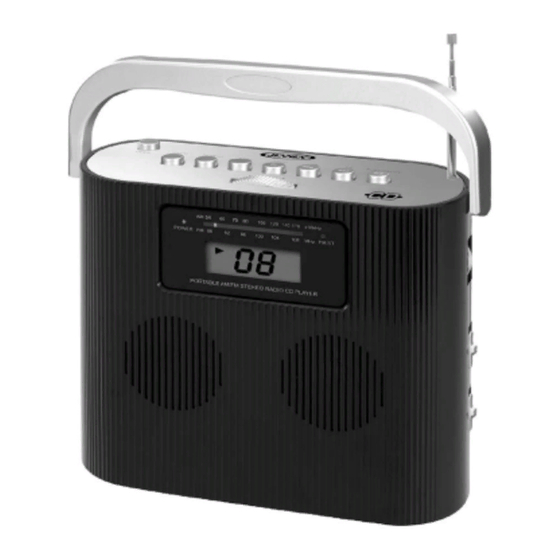
- Page 1 AM/FM STEREO COMPACT DISC PLAYER CD-470A USER MANUAL PLEASE READ THIS USER MANUAL COMPLETELY BEFORE OPERATING THIS UNIT AND RETAIN THIS BOOKLET FOR FUTURE REFERENCE.
-
Page 2: Compliance With Fcc Regulations
CAUTION Follow the advice below for safe operations. ON PROTECTION AGAINST LASER ENERGY EXPOSURE As the laser beam used in this compact disc player is harmful to the eyes, do not attempt to disassemble the casing. Stop operation immediately if any liquid or solid object should fall into the cabinet. ... -
Page 3: Dear Jensen Customer
The serial number of this product is found on its bottom. You should note the serial number of this unit in the space provided as a permanent record of your purchase to aid in identification in the event of theft of loss. Model Number: CD-470A Serial Number: ____________________ PROTECT YOUR FURNITURE!! This system is equipped with non-skid rubber ‘feet’... -
Page 4: Locations Of Controls
LOCATIONS OF CONTROLS 1. BUILT-IN SPEAKERS 2. POWER INDICATOR 3. FOLD DOWN HANDLE 4. DIAL SCALE 5. FM STEREO INDICATOR 6. LCD DISPLAY 7. POWER ON/OFF SWITCH 8. AUX IN JACK 9. STEREO HEADPHONE JACK 10. DC INPUT JACK (DC6V 0.6A) 11. -
Page 5: Listening To The Radio
IMPORTANT: Be sure that the batteries are installed correctly. Wrong polarity may damage the unit and void the warranty. BATTERY CARE Do not mix old and new batteries. Do not mix alkaline, standard (carbon-zinc) or rechargeable (nickel-cadmium) batteries. ... -
Page 6: General Operation
7. After the disc is read, the LCD DISPLAY will show the total number of tracks and then the disc will stop. 8. Press the PLAY/PAUSE button once, the disc will start playing from the beginning. 9. Adjust the VOLUME CONTROL to desired level. 10. -
Page 7: Stereo Headphone Jack
or Press 10. Press the PROG button repeatedly until the desired program number to be edited is shown. button to select a new track and press the PROG button to confirm. 11. Press the PLAY/PAUSE button to start playing in your new program sequence. 12. - Page 8 PROBLEM POINTS TO CHECK POSSIBLE SOLUTIONS – The disc may be inserted upside down. The – Reload the CD in the correct way. disc not mounted correctly on the chuck. Dirty or a defective disc. CD Player fails – Dirty pick up lens. –...
- Page 9 This warranty gives you specific legal rights, and you may also have other rights which vary from state to state. TO OBTAIN SERVICE please remove all batteries (if any) and pack the unit carefully and send it freight prepaid to SPECTRA at the address shown below. IF THE UNIT IS RETURNED WITHIN THE WARRANTY PERIOD shown above, please include a proof of purchase (dated cash register receipt) so that we may establish your eligibility for warranty service and repair of the unit without cost.