Table of Contents
Advertisement
Advertisement
Table of Contents

Summary of Contents for MTX TSW10
- Page 1 OWNER’S MANUAL TSW10 & TSW12 M T X . C O M...
- Page 2 SAFETY SYMBOLS AND STATEMENTS The lightning flash with arrowhead symbol within an equilateral triangle, is intended to alert the user to the presence of uninsulated “dangerous voltage “ within the product’s enclosure that may be of sufficient magnitude to constitute a risk of electric shock to persons. The exclamation point within an equilateral triangle is intended to alert the user to the presence of important operating and maintenance (servicing) instructions in the...
-
Page 3: Important Safety Instructions
IMPORTANT SAFETY INSTRUCTIONS 1. Read Instructions – All the safety and operating 13. Power-Cord Protection – Power-supply cords should instructions should be read before the product is opened. be routed so that they are not likely to be walked on or pinched by items placed upon or against them, paying 2. -
Page 4: Unpacking/Pre-Installation Instructions
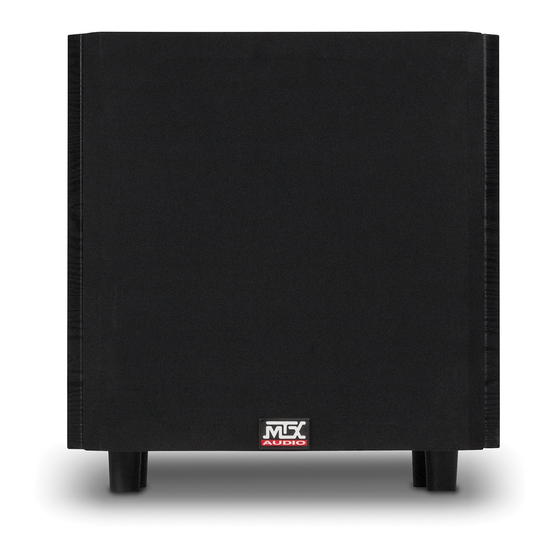
INTRODUCTION Thank you for purchasing this MTX powered home subwoofer system. Your new subwoofer is one of the most exciting home entertainment electronic products available, adding impact and realism to recorded music and movies. Once set-up and properly adjusted, it should give you many years of entertainment pleasure. -
Page 5: Placement Or Positioning
PLACEMENT OR POSITIONING Your new subwoofer will work well in a variety of locations. However, placement in your listening room will affect its performance. Since the wavelengths of sound reproduced by your subwoofer are large compared to its size, those sounds are omni-directional in nature. This means that locating your subwoofer in relation to your left and right main speakers will not affect the directional cues which they provide. - Page 6 CONTROL FUNCTIONS (FIGURE A) High Level Auto Low Input Phase 0° 180° Power Powered Subwoofer Volume Crossover ATTENTION / CAUTION RISK OF ELECTRIC SHOCK DO NOT OPEN WARNING: To reduce the risk of fire 60Hz 180Hz or electrical shock, do not expose this appliance to rain or moisture.
-
Page 7: Wiring And Connections
WIRING AND CONNECTIONS Note: Turn off all power to your subwoofer and other equipment before making any connections. Installation using speaker level inputs A) F or amplifiers with one set of speaker outputs using the pass through in the subwoofer. If a preamplifier output connection is not available on your amplifier or receiver, your subwoofer can be connected using your equipment’s speaker outputs. These connections are made using commonly available 18 or 16 gauge speaker hook-up wire. - Page 8 B) For use with A/V preamps and receivers that have a subwoofer line level output. If your preamplifier or receiver has a dual “subwoofer” output or “LFE” output, connect a shielded RCA cable from the preamplifier output to both the left and right low level inputs on the subwoofer. If the amplifier has a single “subwoofer” output or “LFE” output, connect a shielded RCA cable from the preamplifier output to either one of the subwoofer line level inputs.
-
Page 9: Setup And Adjustment
SET-UP AND ADJUSTMENT After you have selected an initial location for your subwoofer and have connected it into your system, have a seat in your normal listening position and have someone help you with the following adjustments: A) If you are using the line level inputs and your main speakers are receiving a full range signal, set the subwoofer crossover frequency control to its full counterclockwise position. -
Page 10: Troubleshooting
TROUBLESHOOTING Your new subwoofer, once set-up and adjusted, should give you years of listening enjoyment with your favorite movies and music. However, if you should experience a problem with your unit, the following chart should help you locate the trouble: Problem Diagnosis 1) Subwoofer makes loud noise at turn-on. -
Page 11: Specifications
Any expenses incurred in the removal and reinstallation of products are not covered by this warranty. MTX’s total liability will not exceed the purchase price of the product. If a defect is present, your authorized MTX dealer may be able to effect repairs. - Page 12 © 2015 Mitek Corporation. All rights reserved. MTX is a trademark of Mitek Corporation. Designed and Engineered in the U.S.A. Due to continual product development, all specifications are subject to change without notice. MTX Audio, 4545 East Baseline Rd. Phoenix, AZ 85042 U.S.A.


