Miele KM 402 Installation Instructions Manual
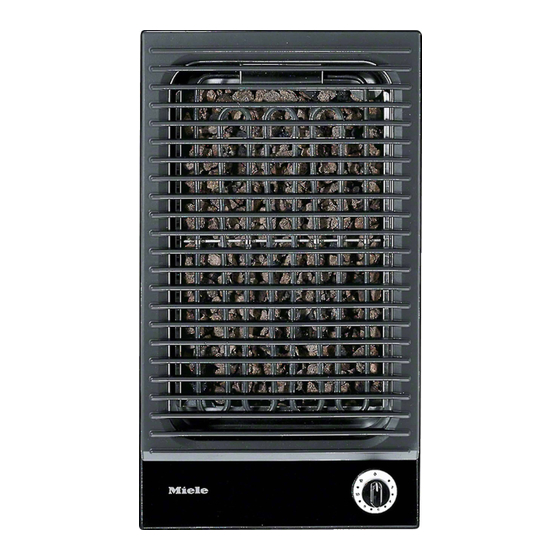
Electric cooktop, fryer, contact grill, electric barbecue
Hide thumbs
Also See for KM 402:
- Operating instructions manual (28 pages) ,
- Technical information (66 pages) ,
- Installation instructions manual (20 pages)

Related Manuals for Miele KM 402


Summary of Contents for Miele KM 402
-
Page 1: Installation Instructions
Installation Instructions KM 400 Electric Cooktop KM 402 / KM 403 Fryer KM 408-1 Contact Grill KM 410 / KM 411 Electric Barbecue To prevent accidents and machine damage, read these instructions installation or use. M.-Nr. 05 060 863... - Page 3 Installation ............4 Safety distance above the appliances .
- Page 4 The cooktops should only be installed in the illustrations, while maintaining the required safety distances shown. Do not install the cooktop between two tall cabinets, this is a fire hazard. a = Minimum safety distances: KM 400 = 2" (50 mm) KM 402 / 403= 2"...
- Page 5 However, under certain circumstances it may be possible for an installation in these applications. Please contact the nearest Miele Dealer or the Miele Technical Service Department with specific requirements. Make sure that the power cord to...
- Page 6 Clamps b Please allow an additional (18 mm) depth below the cooktop for clearance of the power cord. "...
- Page 7 a Clamps...
- Page 8 a Clamps...
- Page 9 All Miele combisets have the same length and width. Make sure that there is enough room beneath the countertop to allow for the depth of the various appliances. When installing a KM 402 / KM 403 or KM 410 / KM 411 remember...
- Page 10 a Clamps c Slight gap between support bar and countertop. b Support bars This illustration shows the layout for 3 combisets, their respective support bars, b, and the 14 spring clamps, a, required for correct installation. If more than 3 combisets are being installed, add an additional 11 "...
- Page 11 ^ Arrange the bars, b, as shown in the illustration ^ Drill " (1.5 mm) pilot holes through the brackets and secure them using the supplied screws. ^ Fill the gap, c, between the bars and the countertop using the supplied silicon sealant.
- Page 12 ^ Guide the power cord through the cut out and connect the appliance to the electrical supply. ^ Position the cooktop over the cut out. With a hand on each side, above the clamps, a, press the cooktop down, locking it into the spring clamps.
- Page 13 The sealing strip under the edge of the cooktop provides a sufficient seal for the countertop. If the cooktop is sealed into position, the countertop or the appliance may be damaged if the cooktop needs to be removed for maintenance or service.
- Page 14 Disconnect the appliance from the main power supply before servicing. To reduce the risk of electric shock, make sure that the appliance is properly grounded after installation. To guarantee the electrical safety of this appliance; continuity must exist between the appliance and an effective grounding system.
- Page 16 Alterations rights reserved / 0705 M.-Nr. 05 060 863 / 01 en - US...