
Related Manuals for Lumiscope 1133


Summary of Contents for Lumiscope 1133
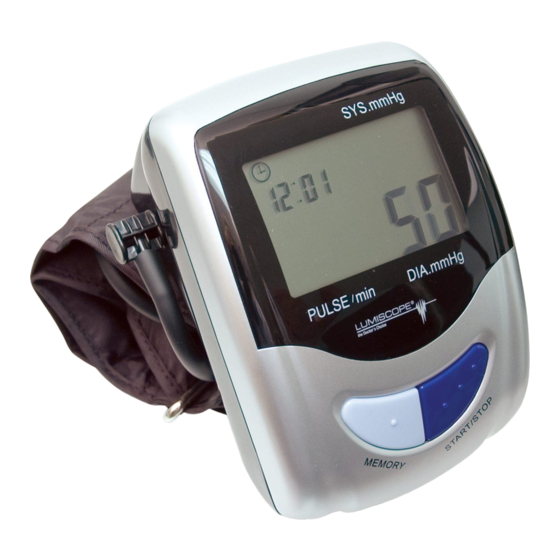
- Page 1 Quick Read Technology Automatic Blood Pressure Monitor Model 1133 Distributed by: GF Health Products, Inc. www.grahamfield.com User Manual Made and Printed In China 1133-INS-LAB-RevA08...
-
Page 3: Table Of Contents
Table of Contents Two Year Limited Warranty GF Health Products, Inc. guarantees this product free from Introduction ..............3 defects in material and workmanship for a period of two years About Blood Pressure ..........4, 5 from the date of purchase, except as noted below: Parts Identification ............ -
Page 4: Introduction
Accuracy: Pressure: ±3 mmHg want to monitor and track their blood pressure on a regular Pulse: within ±5% of reading basis. The 1133 is compact and portable, making it perfect for Inflation: Micro rolling Pump home use and travel. Pressure Exhaust:... -
Page 5: About Blood Pressure
Troubleshooting About Blood Pressure What is Blood Pressure? Message Correction Blood pressure is the pressure exerted on the artery tube The pressure measured was lower than while blood flows through the arteries. The pressure measured 20 mmHg. when the heart contracts and sends blood out of the heart is Solution: Please measure again. -
Page 6: Blood Pressure Standard
About Blood Pressure Care & Maintenance Blood Pressure Standard The World Health Organization (WHO) and National Do not drop the unit. It is not shockproof. High Blood Pressure Education Program Coordinating Committee have developed a blood pressure standard, according to which areas of low- and high-risk blood pressure are identified. -
Page 7: Parts Identification
Parts Identification Clock Settings Setting the Clock, Date & Time A. Press and hold the “MEMORY” button for at least 3 seconds. The display will show a blinking year. Press the “START/ STOP” button to adjust the year when it’s blinking. B. -
Page 8: Display Symbols & Explanations
Display Symbols & Explanations Deleting the Memory To delete the memory Display Symbols 1. To delete one memory: A. Press the “MEMORY” button to display the record that you wish to delete. Systolic Pressure B. Press and hold the “START/STOP” button until the display shows “DEL”. -
Page 9: Installing The Batteries
Memory Recall Installing the Batteries To insert the batteries To see the previously measured values A. Press down on the latch and lift the cover toward you to A. Press the “MEMORY” button to recall the last reading. The open the battery compartment. LCD display will show the memory number, actual date, and time of the measurement. -
Page 10: Correct Measuring Posture
Correct Measuring Posture Measurement Procedures A. Place your elbow on a table so C. Quick Read Technology detects your blood pressure that the cuff is at the same level with the touch of a button, which reduces measurement as your heart. time significantly and decreases patient discomfort. -
Page 11: Applying The Cuff
Applying the Cuff Measurement Procedures To apply the cuff To start the measurement Note: In order to get your correct measurement result and to avoid A. Plug the end of the tubing on the cuff into the connector erroneous measurements, you should be seated quietly. Your arm, at the base of the monitor. -
Page 12: Helpful Tips
Applying the Cuff Helpful Tips D. Turn your left palm upward and place the edge of the Here are a few helpful tips to help you obtain a more accurate reading. arm cuff at approximately 1-2 inches above the inner side of the elbow joint.